 | |
| There are probably few things we have done in life that will last for a couple of hundred years! Here is an account of one! The Dorset Dry Stone Walling Association arranges weekend courses for anyone who is interested in learning to how to build a wall. They are very well organised and their friendly staff and experienced tutor made us feel welcome from the start. The knowledge provided was interesting and helpful covering practice and theory as well as the inevitable health and saftey issues. The course lasts for two days and with 12 students on each course, we dismantled about 12 metres of delapitated wall that forms part of 'the Ridgeway' near Goulds Hill on the top of the Downs to the north of Weymouth. |
 |
| Our walling site is just to the east of Goulds Hill Road and within view of Maiden Castle whose oval earthworks you can see at the top of the above photograph. |
 | |
| The wall behind the poster is a newly completed section of wall build under instruction by a previous group of students. Our section was going to be the length, to right of centre. You can see from the next photo that the next section of wall no longer provides a barrier to stock grazing in the field behind us. It requires complete repair; Call in the 'Dorset Dry Walling Association students!' |
 |
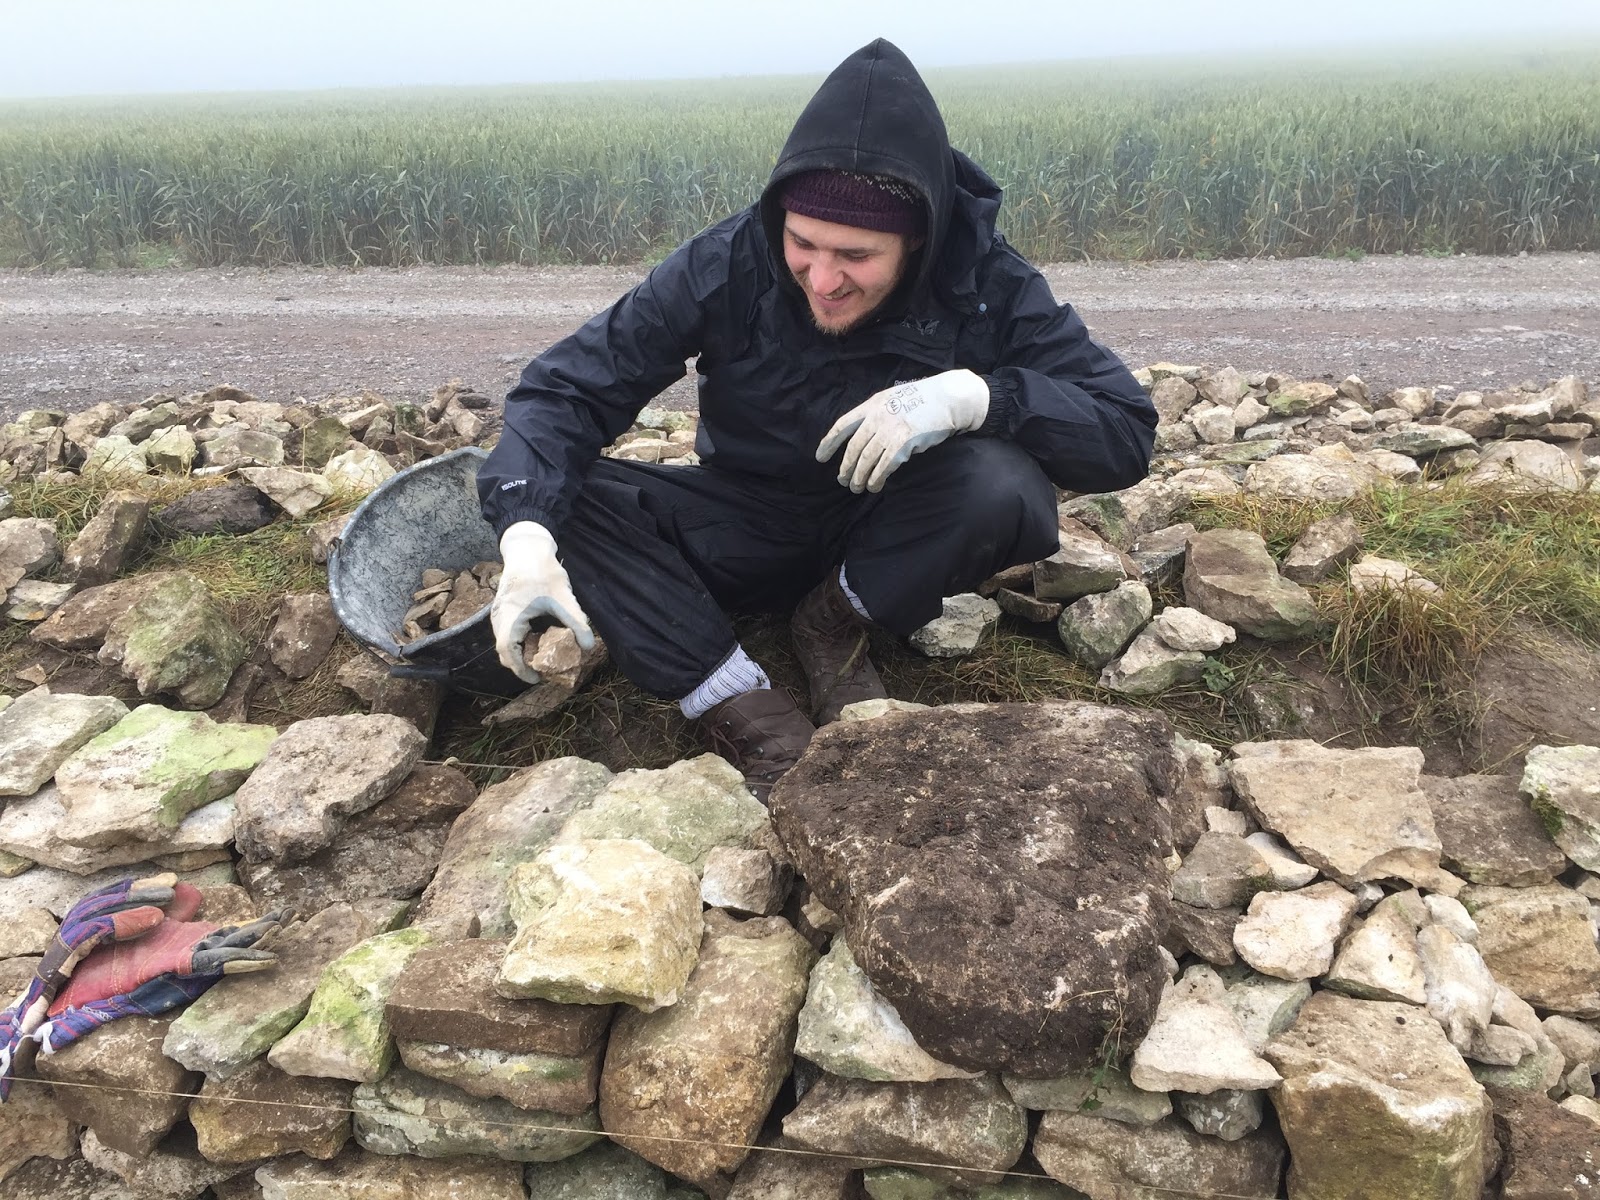
| We look on and wondered where to begin! |
 |
| Our first task following the introduction was to dismantle the remains of the old wall and place the stones to the left and right of the working area. At this point we were sorting the rocks into their size and character. There were flat ones of various sizes, knobbley ones of different sizes, there were huge rocks that were reserved as foundation stones and others that would be kept for 'topping' the wall. Eventually we got to ground level and prepared a smooth flat surface on which to begin the wall building. |
 |
| A flat surface has been cleared and some of the largest rocks that were previously foundations are left in place. |
 |
| Hot drink and biscuits are provided and this gives us a chance to share our experiences. Some students are looking for a new hobby and others, a career change from an office based job to an outdoor life! One of us has moved into a new house, built on a steep slope. The garden needs terracing and before engaging a garden landscape design company, she wants to get to know the basics of dry wall building so that she can ask the right questions before committing to an order. Another guy is facinated by puzzels and he sees dry stone wall building as an upgrade from his rubix cube! I want to repair some terrace walls in a garden on a Greek island. We all have our own reasons for being here! |
 |
| This section of wall represents the end that was completed by students on the last 'wall building course'. It will have to be completed by us and fused with the new wall that we are about to build. The 'A' frame will have strings attached and running to another 'A' frame to provide a 'guideline' like a horizontal plumbline helping us to create a narrowing wedge shape to our wall as we build upwards. |
 |
| The guiding strings are now almost in position. They will be raised up the 'A frames' as the wall rises. A few key foundation stones are already in place. |
 |
| A tidy collection of well sorted stones will speed up the wall building process once it begins in earnest. With practice your eye will pick out a suitable stone from a pile of dozens. For the perfectionist there is only one stone destined for each position in the wall. The building process begins slowly but speeds up as you gain confidence and experience. Eventually it becomes almost an addiction to find the next stone and move on up! |
 |
| Stone in stock! |
 |
| Getting the foundation stones 'right' is absolutely critical. The entire weight of the wall will be supported on these stones. Notice how the long axis of most of these stones is at right angles to the length of the wall. Althought you cannot see this, they are also slightly tilted into the centre of the wall so that they do not slip outwards. |
 |
| The entire 12 metre length of foundations stones are almost complete. |
 |
| Looks like someone is starting to build upwards! |
 |
| To get to this point successfully you need to have applied all of the rules you were told about in that first theory lesson! We were 12 students working along approximately 12 metres so we each focused on one section. This was where I got focused! In reality, we worked in pairs on a 2 meter section, which meant we could have a discussion about a 'difficult gap to fill' or the 'suitablity of a stone we had just placed'! Wall geeks we were! |
 |
| By this stage we were trying to apply all the rules. Not sure about the stone on the near left! The long axis should be pointing into the wall! We were also using a whole new wall building language; Our foundation stones were in place but we now needed to reserve our topstones, think about the frequency of throughstones, organise our building stones and make sense of all the hearting stones. Over and above all these considerations some of the stones were really awkward and you do need to spot the opportunities to use them too. Every stone you pick up to position on the wall creates two challenges; one, that its fits snugley and does not break any rules and secondly that it is not creating a tricky surface upon which to build the next layer! |
 |
| This represents about seven hours work on a Saturday, by 12 students! We had dismantled the remains of the previous wall, had been taught how to build and had laid our first few stones! By tomorrow afternoon, we were expected to complete the job! |
 |
| The end of day one; We admire our work, or is our practical work being critiqued and marked by our tutor? |
 |
| We return to work on Sunday morning! |
 |
| You can just about see the string guide lines on both sides of the wall. They now need to be raised on the 'A' frames so that the wall continues to taper inwards. |
 |
| What a beautiful spot to be working! Looking south here with the English Channel on the horizon. |
 |
| Craig and I shared a two meter section of wall building. This enabled us to ensure that both sides of the wall were geting attended to! |
 |
| Slowly but surely we gained height! Our tutor made regular inspections of each section to check that we were following all the correct procedures! |
 |
| As Sunday morning slipped into Sunday afternoon the wall rose like a phoenix! The supply of available stones became limited and we were now hunting around for each 'right stone'. |
 |
| This shot demonstrates the position of the guiding string that determines the position that we are building towards. |
 |
| Craig concentrating on the far side. |
 |
| Eventually we reach the desired height and are working towards completing a level surface. We have now all been working for about 12 hours. (over 2 days) |
 |
| Finishing touches! |
 |
| Almost complete! |
 |
| We just need to position the topstones or coping stones. |
 |
| Job done! |
 |
| Qualified Dry Stone Wallers! |
 | |
| Armed with the theory and some practical experience, and back in Greece, I was presented with this slope of loose stones that had once been a wall retaining a terrace. It had now degraded to the point that it is a difficult and uneven pathway. Note the position of the olive tree roots at the top of the picture and the circular reddish rock on the left hand side. They have not moved. Now look for them on the photo below. |
 |
| In the same location we now have three steps leading from the upper terrace to the lower one and a long 'stone bench' to sit on. Much safer than previously although the slope at the back of the 'bench' will have to be dealt with on my next visit.....all thanks to the staff of the Dorset Dry Stone Walling Association! |
 |
| Our view from the new stone bench. |
No comments:
Post a Comment
Note: only a member of this blog may post a comment.